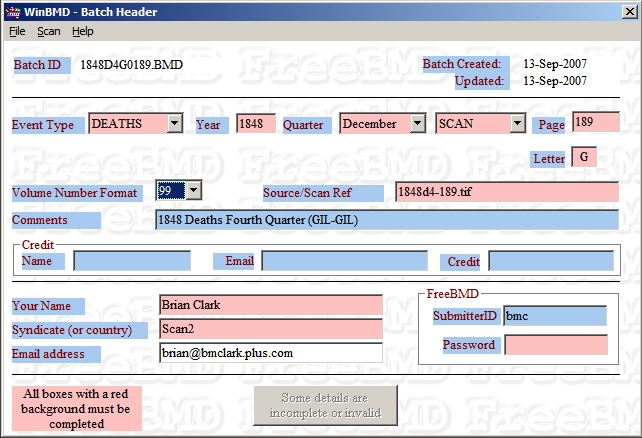
Note : Please double check the header details and amend any errors before continuing.
| Event Type | Deaths | Comment |
| Year | 1848 | |
| Quarter | December | March (1st) June (2nd) September (3rd) December (4th) |
| Empty Box | Scan | What you are working from (Scan2 always works from scans) |
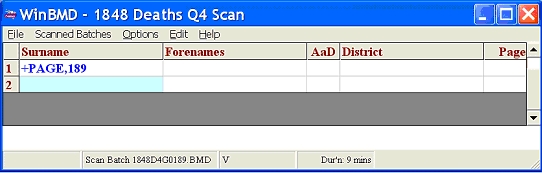
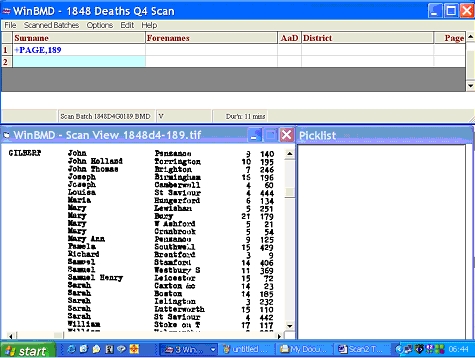
| Page | 189 | If no page number visible use number of the scan e.g. 189 |
| Letter | G | First letter of first surname on scan. On this example the letter is 'G' |
| Volume No Format | 99 | Handwritten pre-1852 XX - Typed pre-1852 99 - Post-1852 9z |
| Source/Scan Ref | 1848d4-0189.tif | The name of the scan |
| Comments | 1848 Deaths Fourth Quarter (GIL-GIL) | Year / event / quarter / 1st 3 letters of 1st name on scan - 1st 3 letters of last name on scan |
| Credit | Ignore these fields | Used for submitting third party work |
| Your Name | Your normal name | |
| Syndicate | Scan2 | This is your FreeBMD Syndicate |
| Email Address | Your email address | Should be the same on Scan2 & FreeBMD |
| Submitter ID | FreeBMD ID | As chosen during Registration |
| Password | FreeBMD Password | As chosen during Registration |
Note : Please double check the header details and amend any errors before continuing.
Note : The name of the third column varies according to the event being transcribed
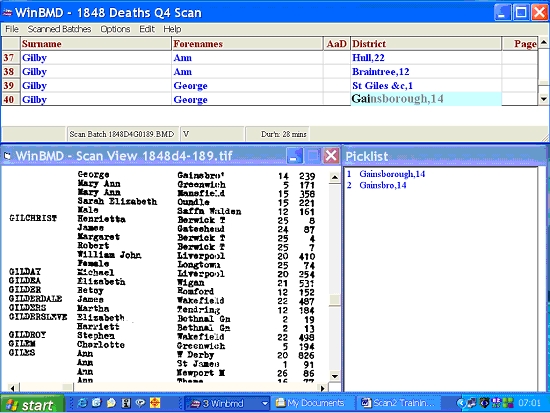
My setup is shown below
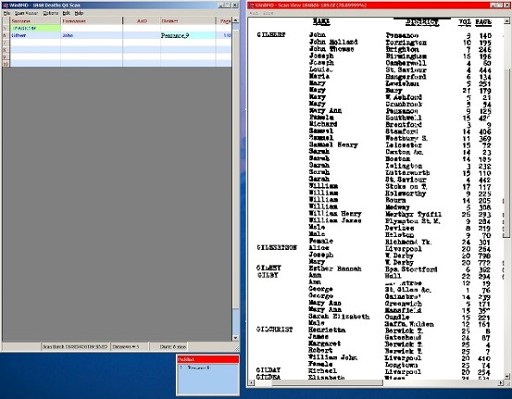
I use "left" & "right" - I have the WinBMD window to the left & the Image to
the right with the Picklist below the data entry screen.